I am a ceramic artist and feel lucky to be able to continue working with clay at home in my studio during this uncertain time. I would like to share a simple pinch pot project that I love to do. I’m calling it “Art to Go”. Sign up by leaving me a message on my website and I will leave a brown bag for you at the end of my driveway with some clay in it. If you need them I will leave some instructions but they are also included in this blog post. If you return your work I can fire it for you in my electric kiln when I have enough work for a full load. I hope you enjoy this project!
Making a Pinch Pot
First, Some things about clay:
What is Clay?
Clay is formed over the years from the decomposition of rock by the physical and chemical actions of wind, rain, erosion, and gasses. Clay is unique in that, combined with water, it is plastic; It holds its shape when formed. It is made of aluminum oxide, two silicon dioxides, and two water molecules. Its chemical formula is:
Al2O3-2SI02-2H2O
Clay changes as it dries and as it is fired.
Wet: can be formed into many shapes
Leather Hard: keeps its shape, attachments can be made carefully (slip and score), can be carved
Bone Dry: cannot be shaped anymore and is very fragile
Bisque Fired fired in a kiln to about 1800 degrees F, becomes strong and hard, still somewhat porous.
Glaze Fired: Glaze applied and fired in a kiln to about 2000 degrees F. The glaze materials melt forming a layer of glass on the clay which itself partially melts (vitrification). Very strong and non-porous (when fired to the correct temperature).
Some things to keep in mind when working with clay
Too much added water makes the clay weak, mushy, and hard to work with. Try to add as little water as possible.
Keep the edges of your piece smooth and thick. Clay shrinks as it goes through drying and firing, sometimes as much as 15%, which can make a sharp edge much sharper.
Compression is good! Try to pinch edges and smooth surfaces with pressure to compress the clay. This helps to reduce cracking
Making a Pinch Pot
One Way to do it is:
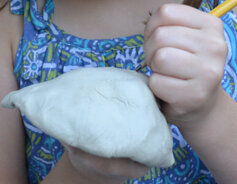
Use a small amount of clay (the size of a small fist) and make a ball.
Press it into your elbow or your knee until you get an opening in your ball of clay. Or you can use your thumb to press in the clay and open it up.
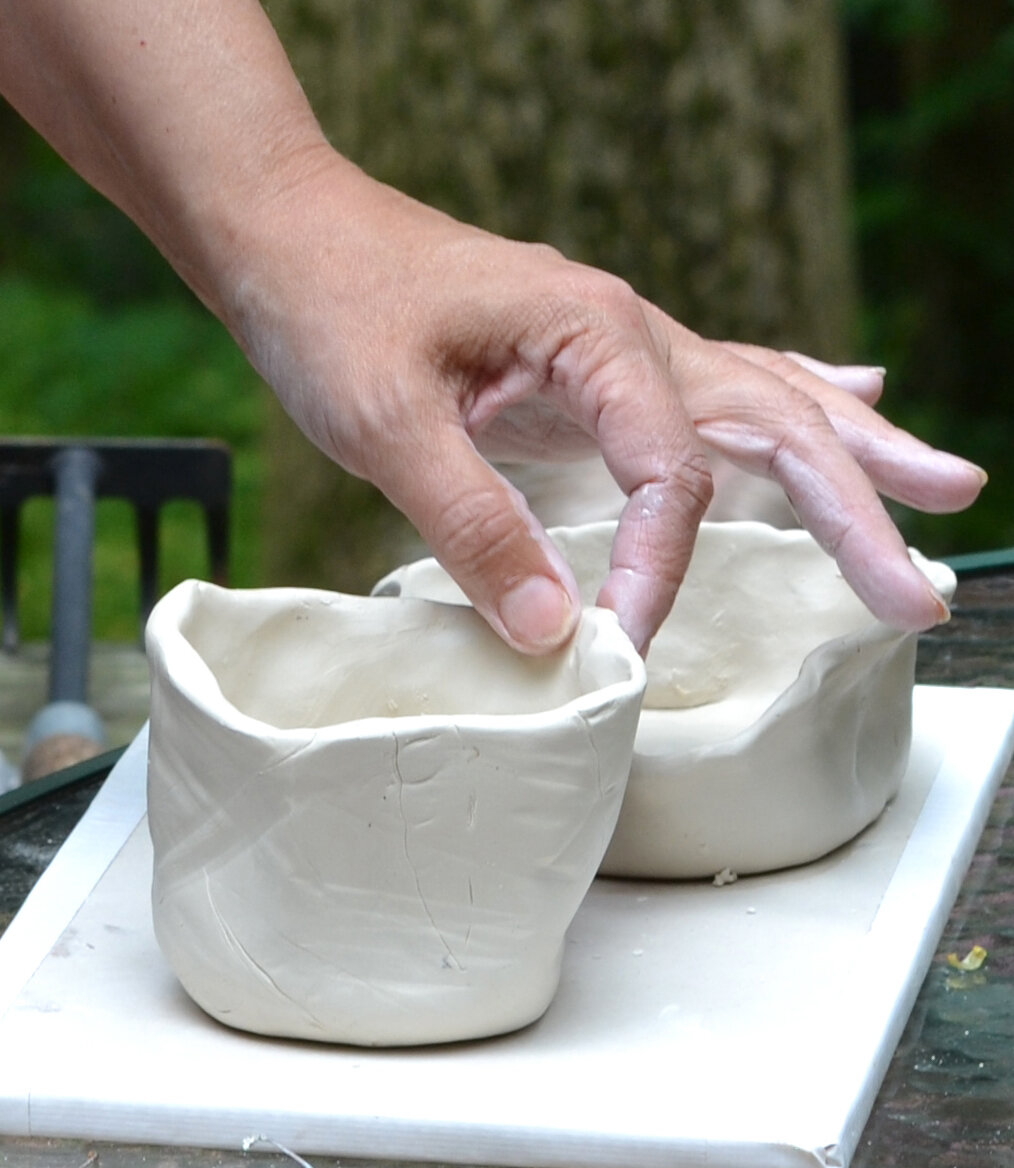
Start on the bottom and pinch a little at a time, all the way around, to thin out the clay.
Work your way up the pot. Go slowly at first - be patient and think of it as a meditation :)
Keep the rim thicker until the very end to prevent it from getting too thin and cracking.
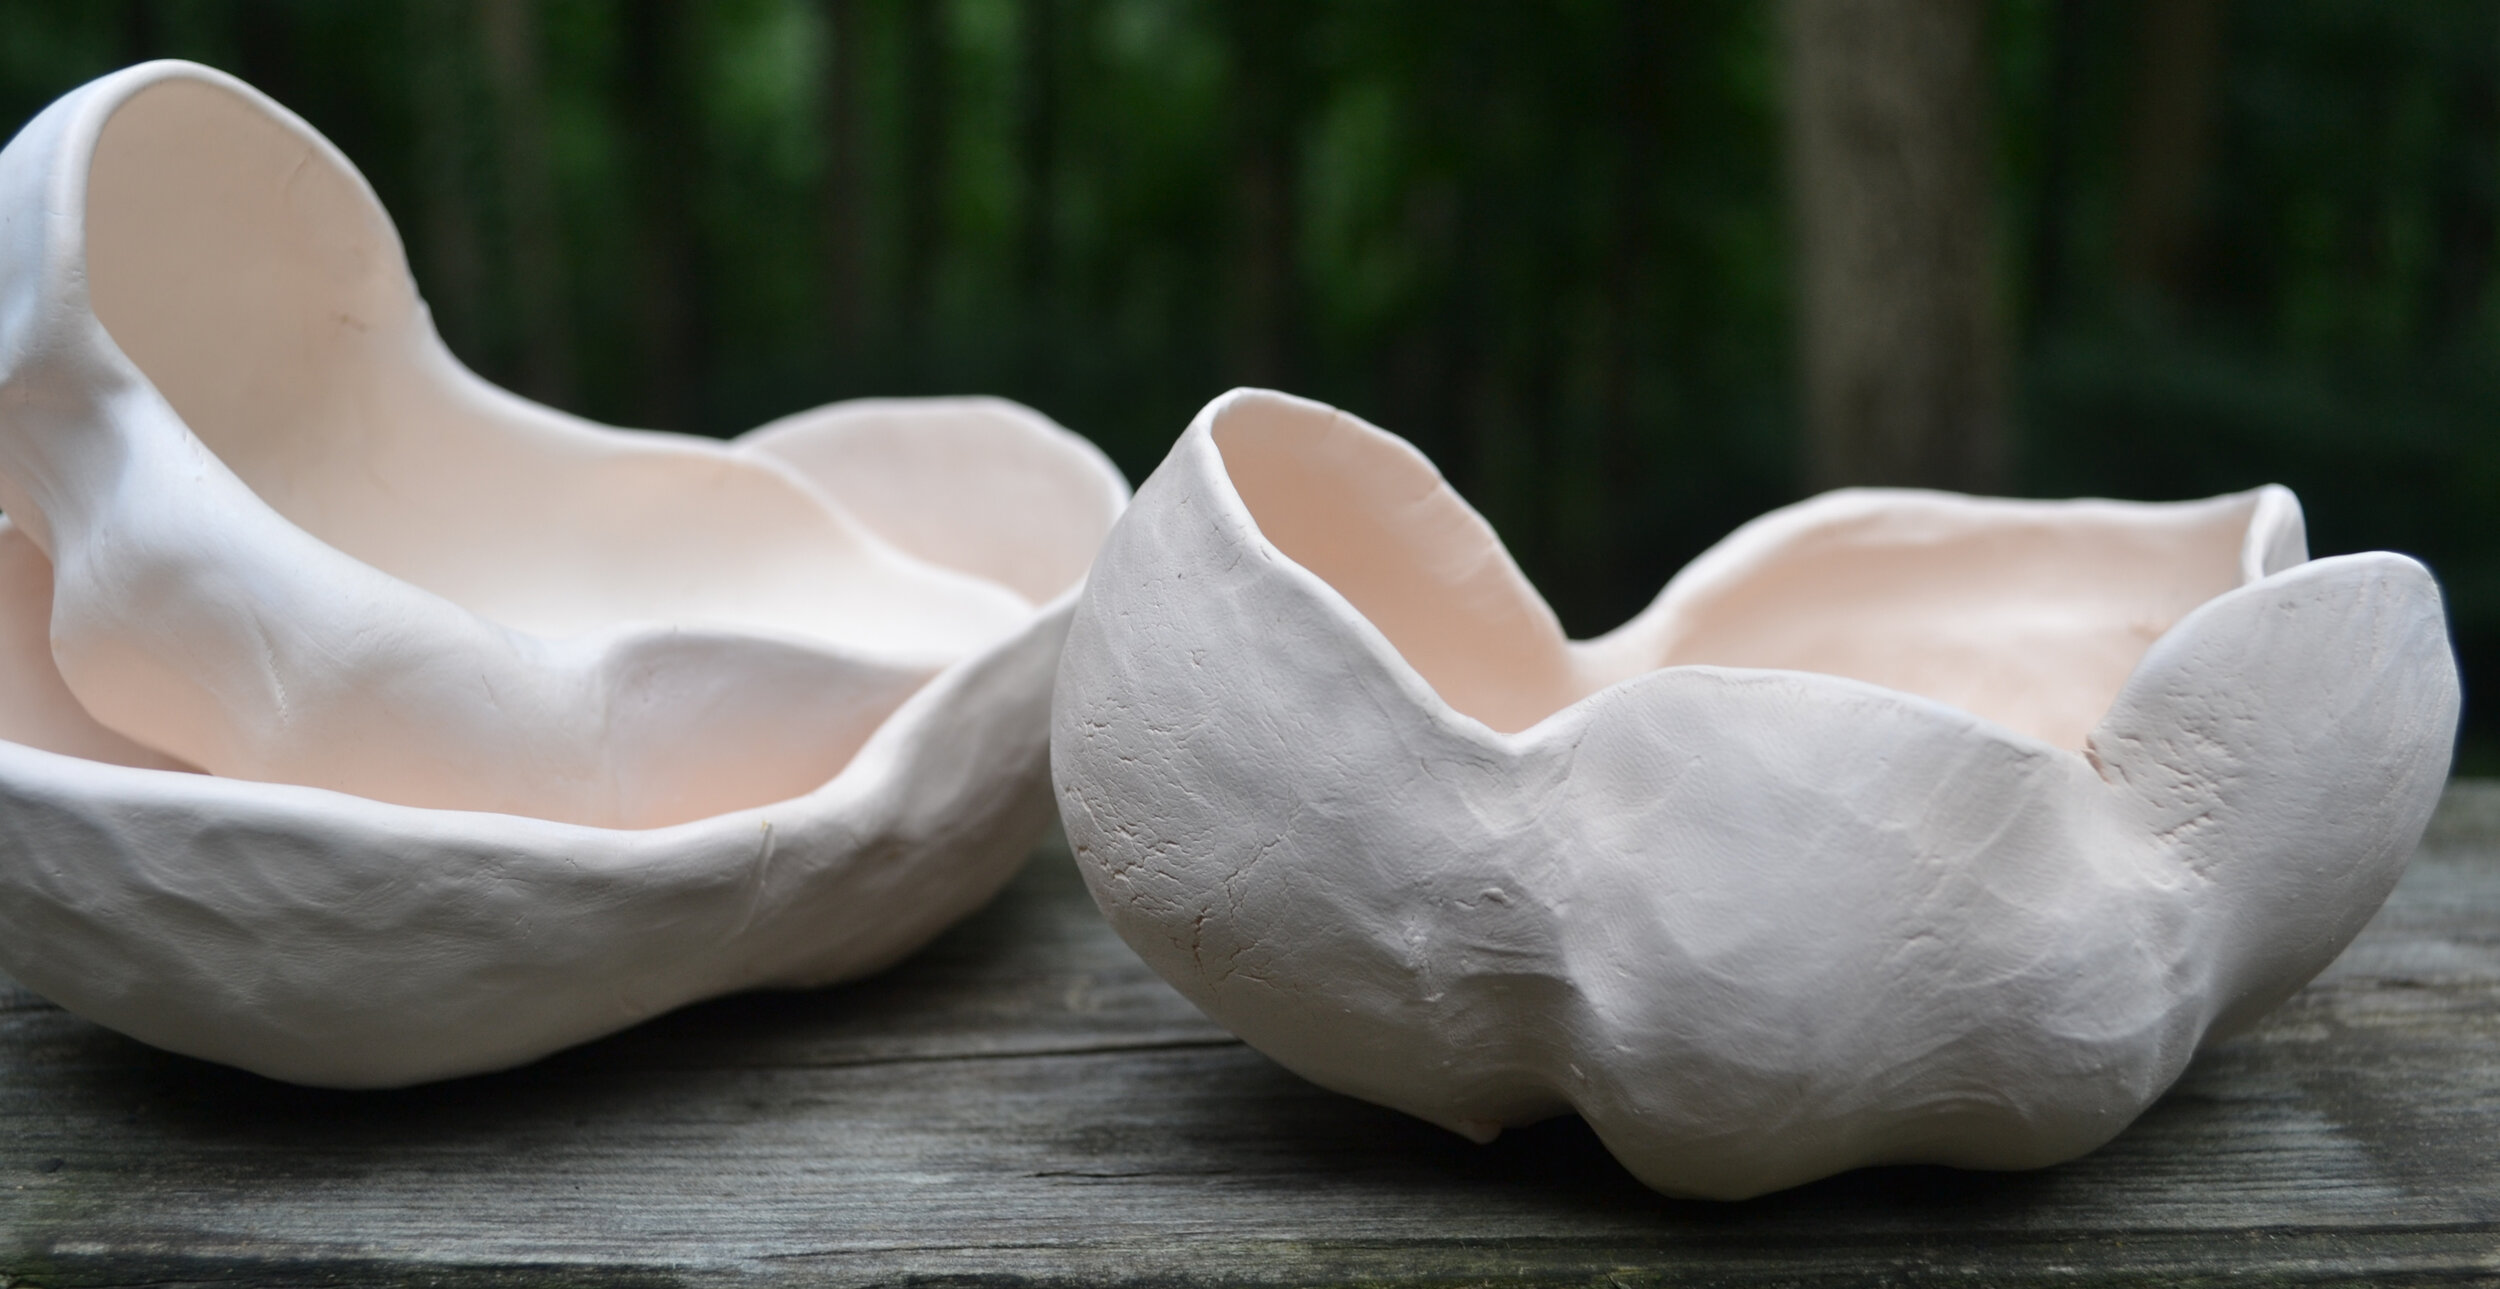
Experiment with shapes – I like to keep the clay in one hand the whole time, pinching between my fingers so that I get a pot shaped like my hand.
I was inspired by the clay artist Paulus Berensohn who made pots with this method as well as others. See a photo of him below with a pot that he made and some instructions I got from his book, Finding One’s Way With Clay. In the directions he uses his thumb to open the pinch pot but for fun try using your elbow or your knee.
The above image and the instructions are from the book, Finding One’s Way With Clay by Paulus Berensohn


